Documentation
First Steps
Stripe Webhooks
Webhooks allow Stripe to notify your app of events like successful payments, subscription changes, or disputes. But testing webhooks can be tricky if you’re not set up for it.
In this guide, you’ll learn webhook best practices and how to test Stripe webhooks locally. By the end, you’ll have a webhook handling system that’s ready for production.
The challenge of testing webhooks
Webhooks are how your app reacts to events in another system: Stripe sends events to a specified URL, and your app processes them.
While this may seem straightforward, handling webhooks comes with a few challenges:
- Difficult testing, eg. localhost isn’t accessible from the internet
- You need to validate event signatures to ensure they’re from Stripe
- Simulating real-world events like subscription upgrades or payment failures can be cumbersome
To overcome these challenges, you need a secure webhook handler, a way to simulate events, and a way to test events locally.
Fortunately, there are a few tools you can use to make this process easier.
Step 1: Create a webhook handler
First things first: you need a webhook handler to process incoming events. This varies depending on your tech stack, but the general idea is the same.
For example, in a Django app this might look like:
# views.py

from django.http import JsonResponse
from django.views.decorators.csrf import csrf_exempt
import stripe

stripe.api_key = "your-secret-key"

@csrf_exempt
def stripe_webhook(request):
    payload = request.body
    sig_header = request.META['HTTP_STRIPE_SIGNATURE']
    endpoint_secret = "your-webhook-signing-secret"

    try:
        event = stripe.Webhook.construct_event(
            payload, sig_header, endpoint_secret
        )
    except ValueError as e:
        # Invalid payload
        return JsonResponse({'error': 'Invalid payload'}, status=400)
    except stripe.error.SignatureVerificationError as e:
        # Invalid signature
        return JsonResponse({'error': 'Invalid signature'}, status=400)

    # Handle the event
    if event['type'] == 'payment_intent.succeeded':
        payment_intent = event['data']['object']
        print(f"Payment for {payment_intent['amount']} succeeded.")
    elif event['type'] == 'invoice.payment_failed':
        invoice = event['data']['object']
        print(f"Payment for invoice {invoice['id']} failed.")
    else:
        print(f"Unhandled event type {event['type']}")

    return JsonResponse({'status': 'success'})
Don't forget to update your endpoint_secret with the signing secret from the Stripe dashboard. This ensures that only legitimate events from Stripe are processed.
You'll also need to add a URL pattern to your Django app's urls.py:
# urls.py

from django.urls import path
from . import views

urlpatterns = [
    path('webhooks', views.stripe_webhook),
    # ...your other URLs
]
Step 2: Simulate Stripe events
Stripe provides a fantastic tool, Stripe CLI, which makes simulating webhook events painless. Install the CLI and log in to your Stripe account:
- Install the Stripe CLI by following the installation instructions.
- Login to your Stripe account:
stripe login.
Next, use the CLI to forward webhook events to your local development server:
stripe listen --forward-to localhost:8000/webhooks
This command creates a secure tunnel, allowing Stripe to send events to your local server. The --forward-to flag specifies the endpoint where your webhook handler is listening (in this case, localhost:8000/webhooks).
Now, you can simulate events using the CLI:
stripe trigger customer.subscription.updated
This command triggers a customer.subscription.updated event, simulating a subscription change. You should see the output in your Django console. You can check out the full list of Stripe events here.
Bonus: Inspect webhooks with usewebhook-cli
Alternatively, you can use the usewebhook-cli, it’s a free, open-source tool designed to make webhook development faster and easier.

Installation
You can install it with this one-liner:
curl -sSL https://usewebhook.com/install.sh | bash
Then, use the usewebhook command to start inspecting and forwarding webhook events:
$ usewebhook

> Dashboard: https://usewebhook.com/?id=123
> Webhook URL: https://usewebhook.com/123
You’ll get two URLs:
- Dashboard URL: View and manage incoming requests.
- Webhook URL: Set this as your endpoint in Stripe.
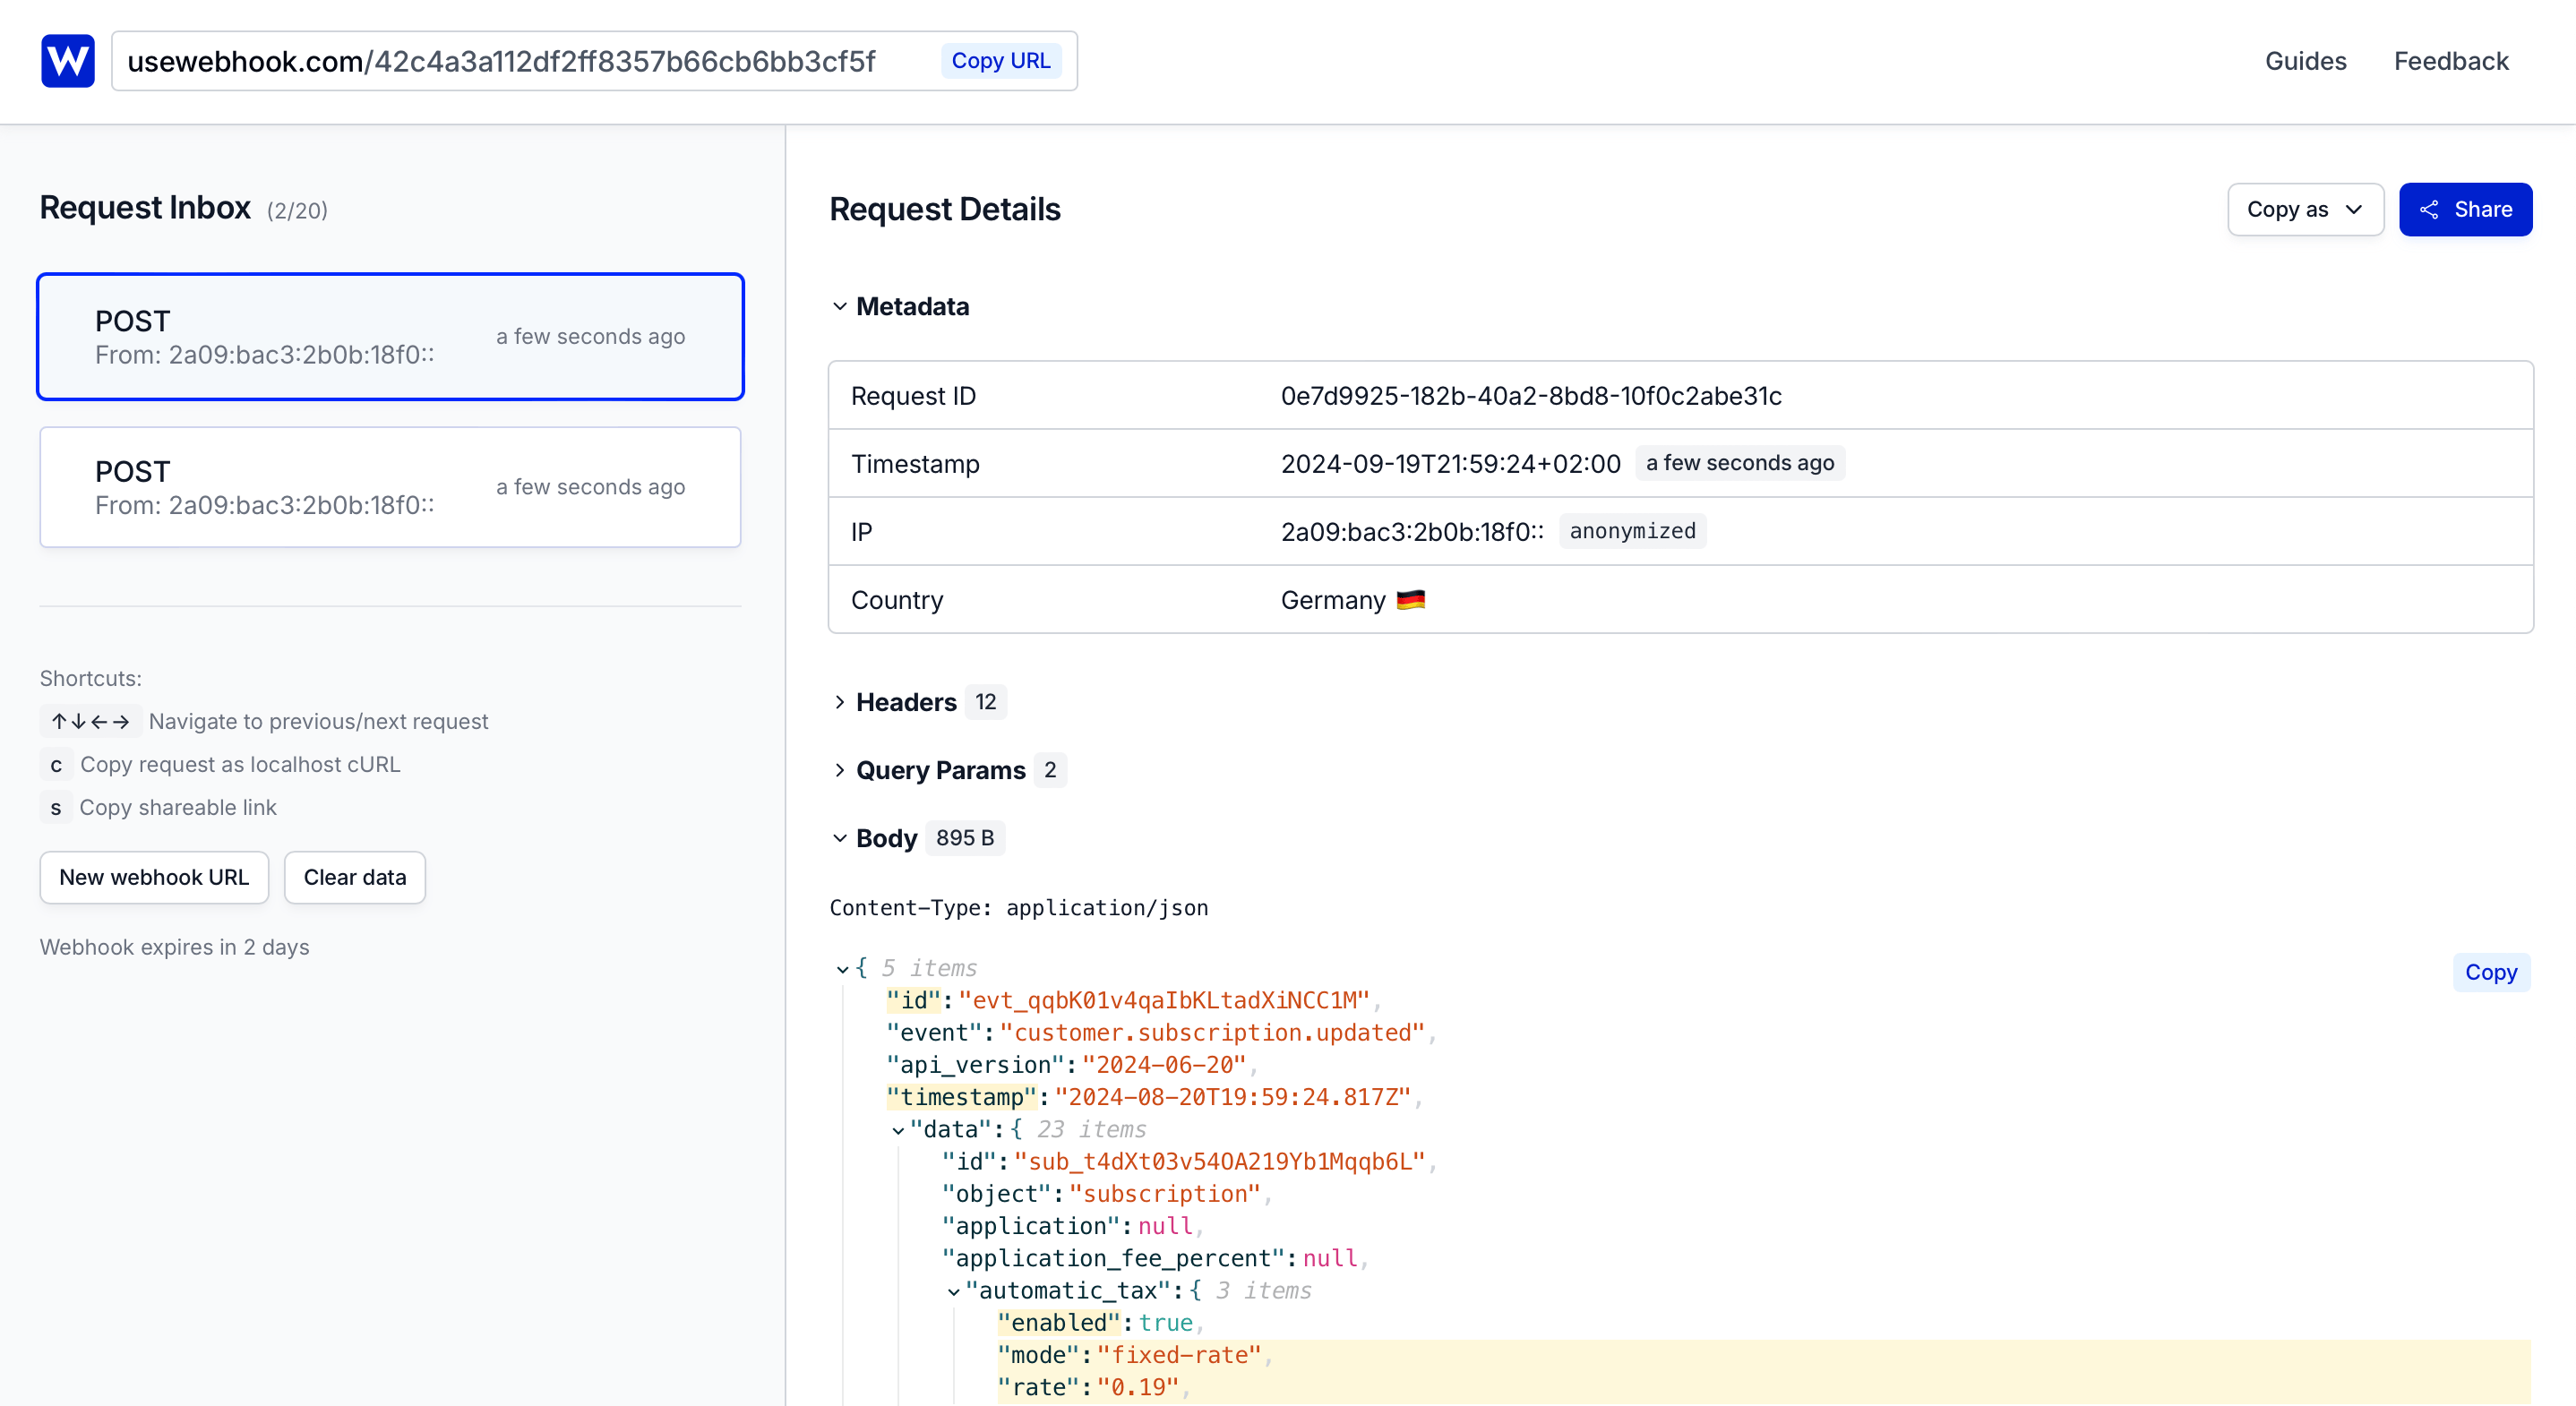
The dashboard shows incoming requests in real-time, including the payload, headers, and request ID.
You can even share your unique dashboard URL with your team to collaborate on debugging webhook issues.
Forwarding webhooks
You can now forward incoming requests to your local server for testing:
usewebhook --forward-to http://localhost:8000/webhooks
Replaying webhooks
Or replay a specific webhook from history:
usewebhook --request-id <request-ID> --forward-to http://localhost:8000/webhooks
This saves time when debugging issues by eliminating the need to re-trigger events manually. You can also inspect the payload and headers of incoming requests from your browser.
Step 3: Moving to production
Once your webhook endpoint is thoroughly tested locally, it’s time to deploy it to production. Keep the following considerations in mind:
- Validate Webhook Signatures: Always validate the webhook signature using Stripe’s library or your own implementation. This ensures that events genuinely come from Stripe and haven’t been tampered with.
- Use HTTPS: Stripe requires webhook URLs to use HTTPS. This secures communication between Stripe and your app, protecting sensitive data in transit.
- Use a Live Domain for Webhook URL: Update your webhook configuration in the Stripe dashboard to use your live domain. Avoid hardcoding the URL in your app to make it easier to switch between environments.
- Use Environment-Specific API Keys: Separate your test and live environments in Stripe. Use different API keys and webhook signing secrets for each environment to prevent accidental data contamination.
- Set Up Logging and Monitoring: Set up logging and monitoring for webhook events. This helps you track the health of your integration and quickly identify issues.
- Handle Retries and Duplicates: Stripe retries webhook events if your server doesn’t respond with a 2xx status code. Ensure your webhook handler is idempotent to prevent duplicate processing of events.
Wrapping up
Testing and debugging Stripe webhooks can quickly get messy, but with the right tools and practices, you can build a system that's reliable and easy to maintain.
Start by implementing the webhook handler, simulate Stripe events to test your implementation locally, and ensure you validate Stripe’s signatures before deploying.
Tools like UseWebhook make it easier by providing a simple way to inspect and forward webhook events. You can also replay events from history, which saves you time and effort when debugging Stripe issues.