Documentation
First Steps
Testing Stripe Webhooks
Use UseWebhook to capture, inspect, and forward Stripe webhooks to your local development server - no Stripe CLI or tunnel required.
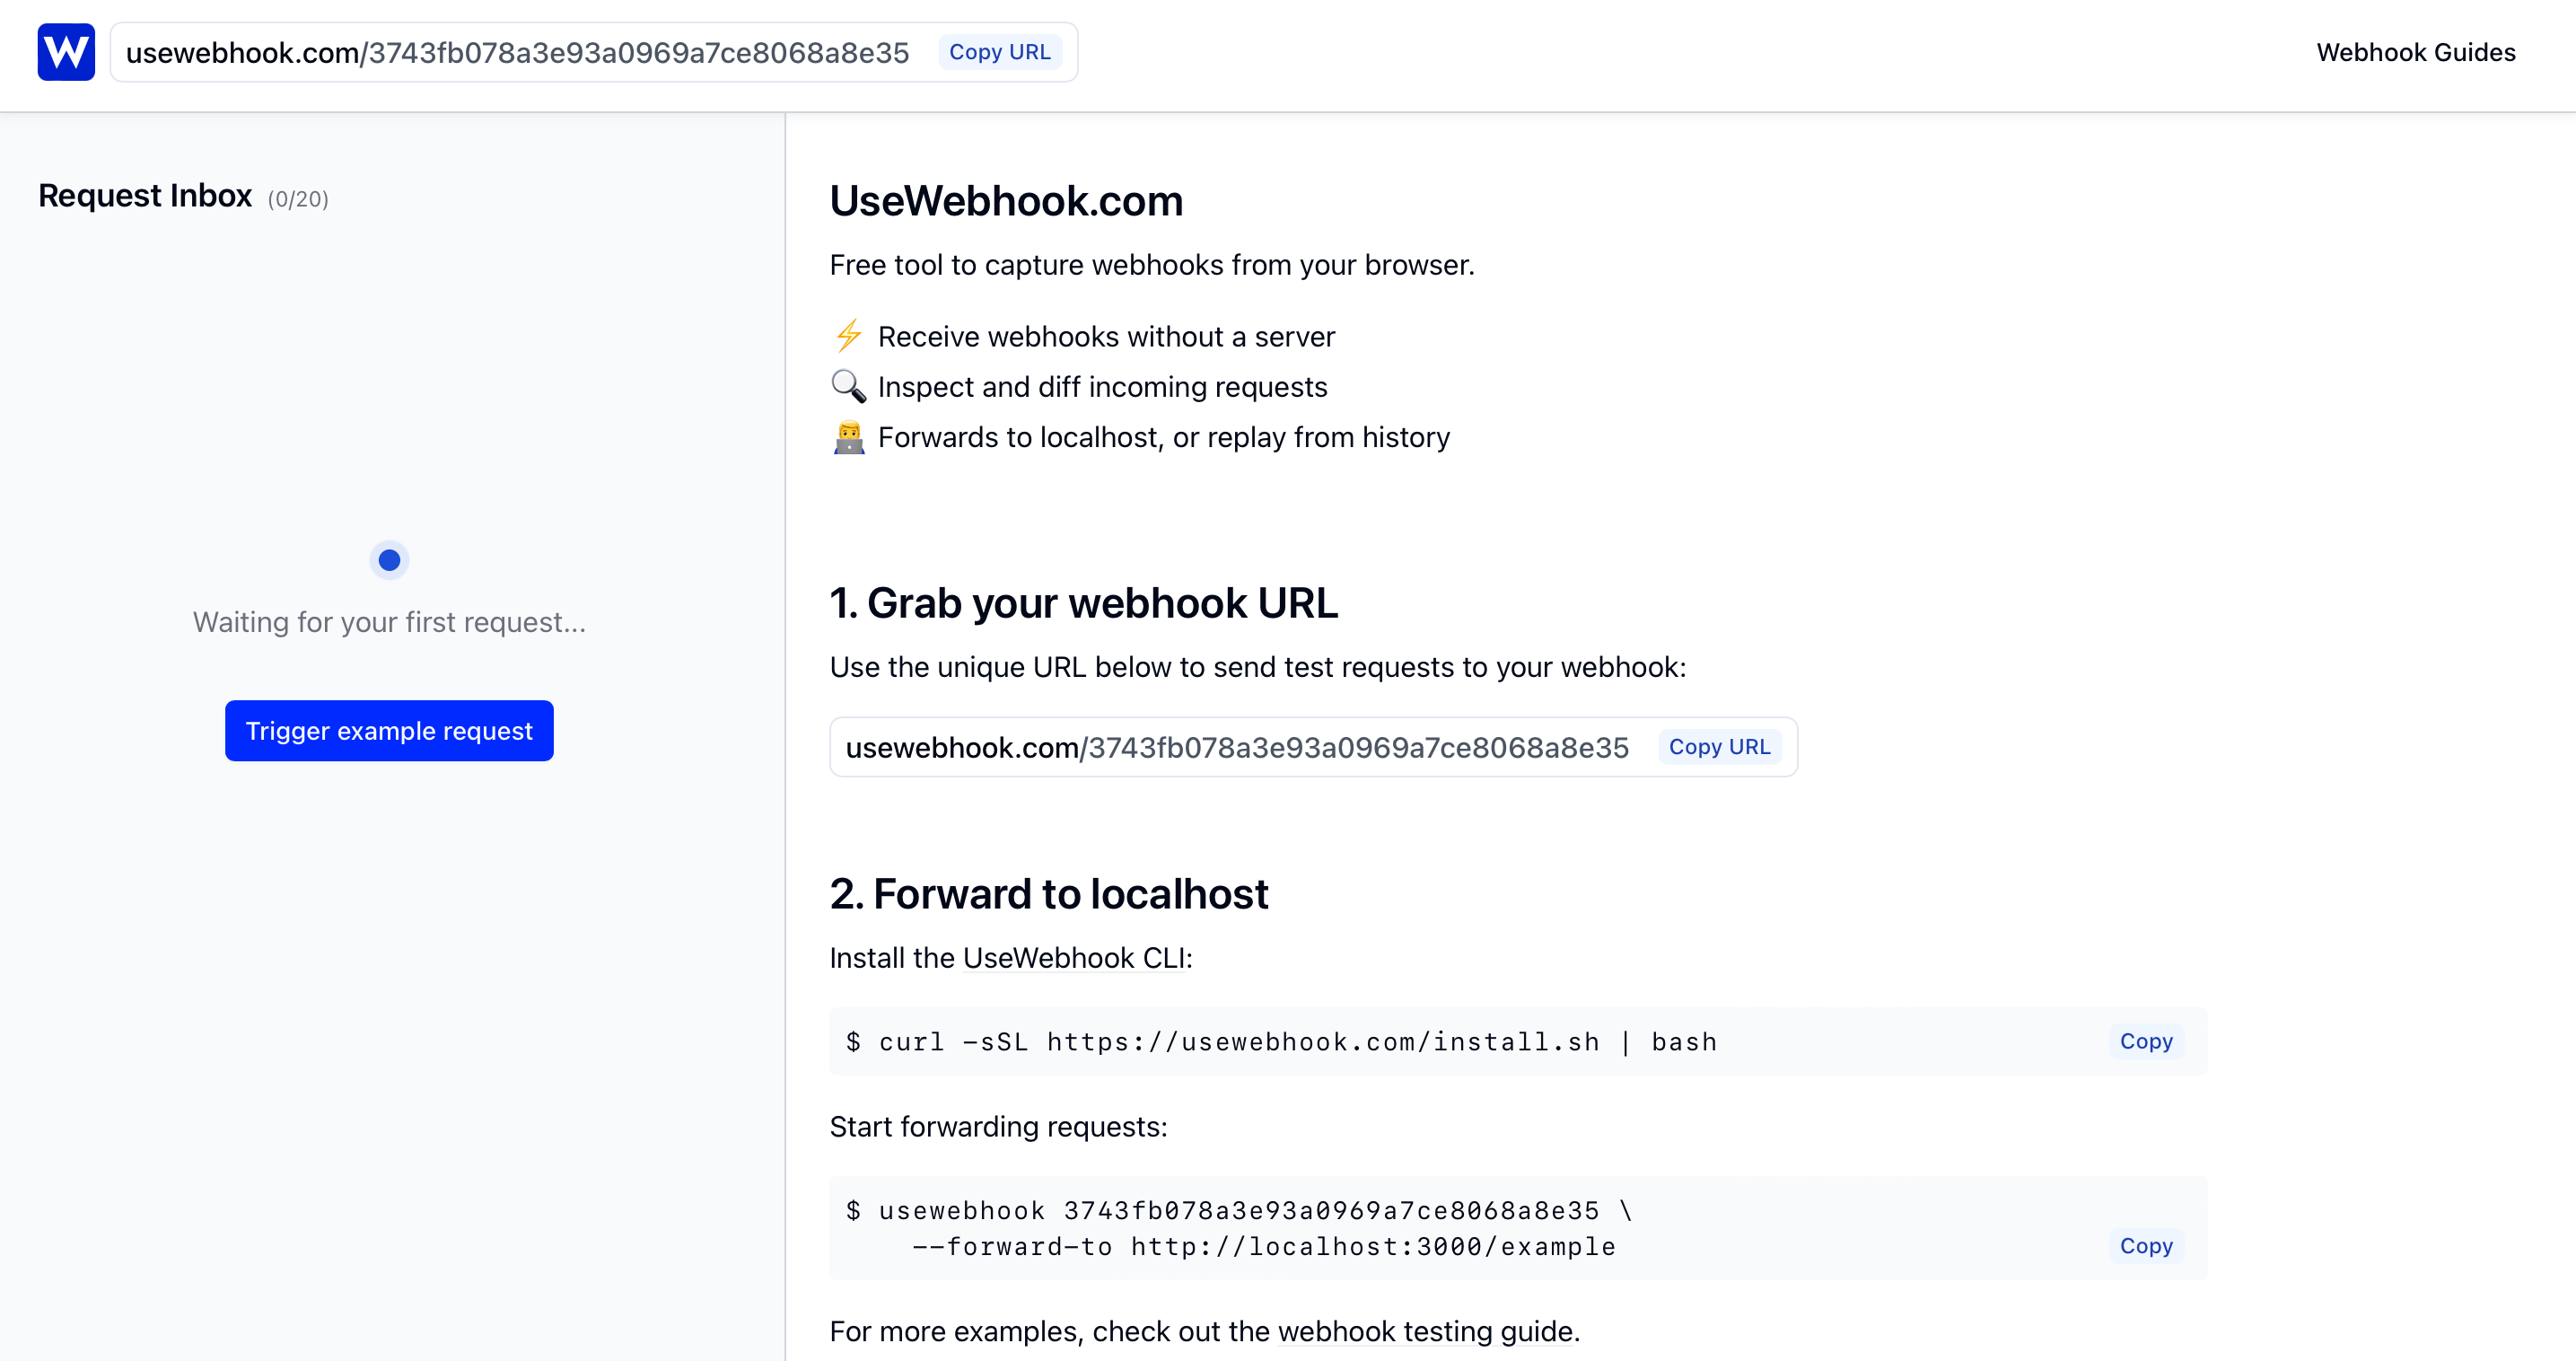
1. Grab your webhook URL
Head to UseWebhook and grab your unique webhook URL. This is the public HTTPS endpoint you'll give to Stripe.
2. Configure Stripe to send webhooks
Log into your Stripe Dashboard and navigate to Developers > Webhooks. Click Add endpoint and configure it:
- Endpoint URL: Paste your UseWebhook URL
- Events to send: Select the events you want to receive (e.g.
checkout.session.completed,invoice.paid,customer.subscription.updated,payment_intent.succeeded)
Make sure you're in Test mode (toggle in the top-right) so you don't affect live data.
3. Trigger a test event
You can trigger Stripe webhook events in a few ways:
Using Stripe's built-in test events:
In your Stripe Dashboard, go to Developers > Webhooks, select your endpoint, and click Send test webhook. Choose an event type like payment_intent.succeeded to fire a test payload.
Using a real test checkout:
Create a test payment using Stripe's test card numbers. Use card number 4242 4242 4242 4242 with any future expiry date and CVC. This will trigger real webhook events like checkout.session.completed and payment_intent.succeeded.
4. Inspect the webhook payload
After triggering an event, you'll see the request appear in your UseWebhook dashboard. You can inspect the full payload, including:
- Headers: Stripe sends a
Stripe-Signatureheader used for webhook signature verification - Body: The JSON payload containing the event type, data object, and metadata
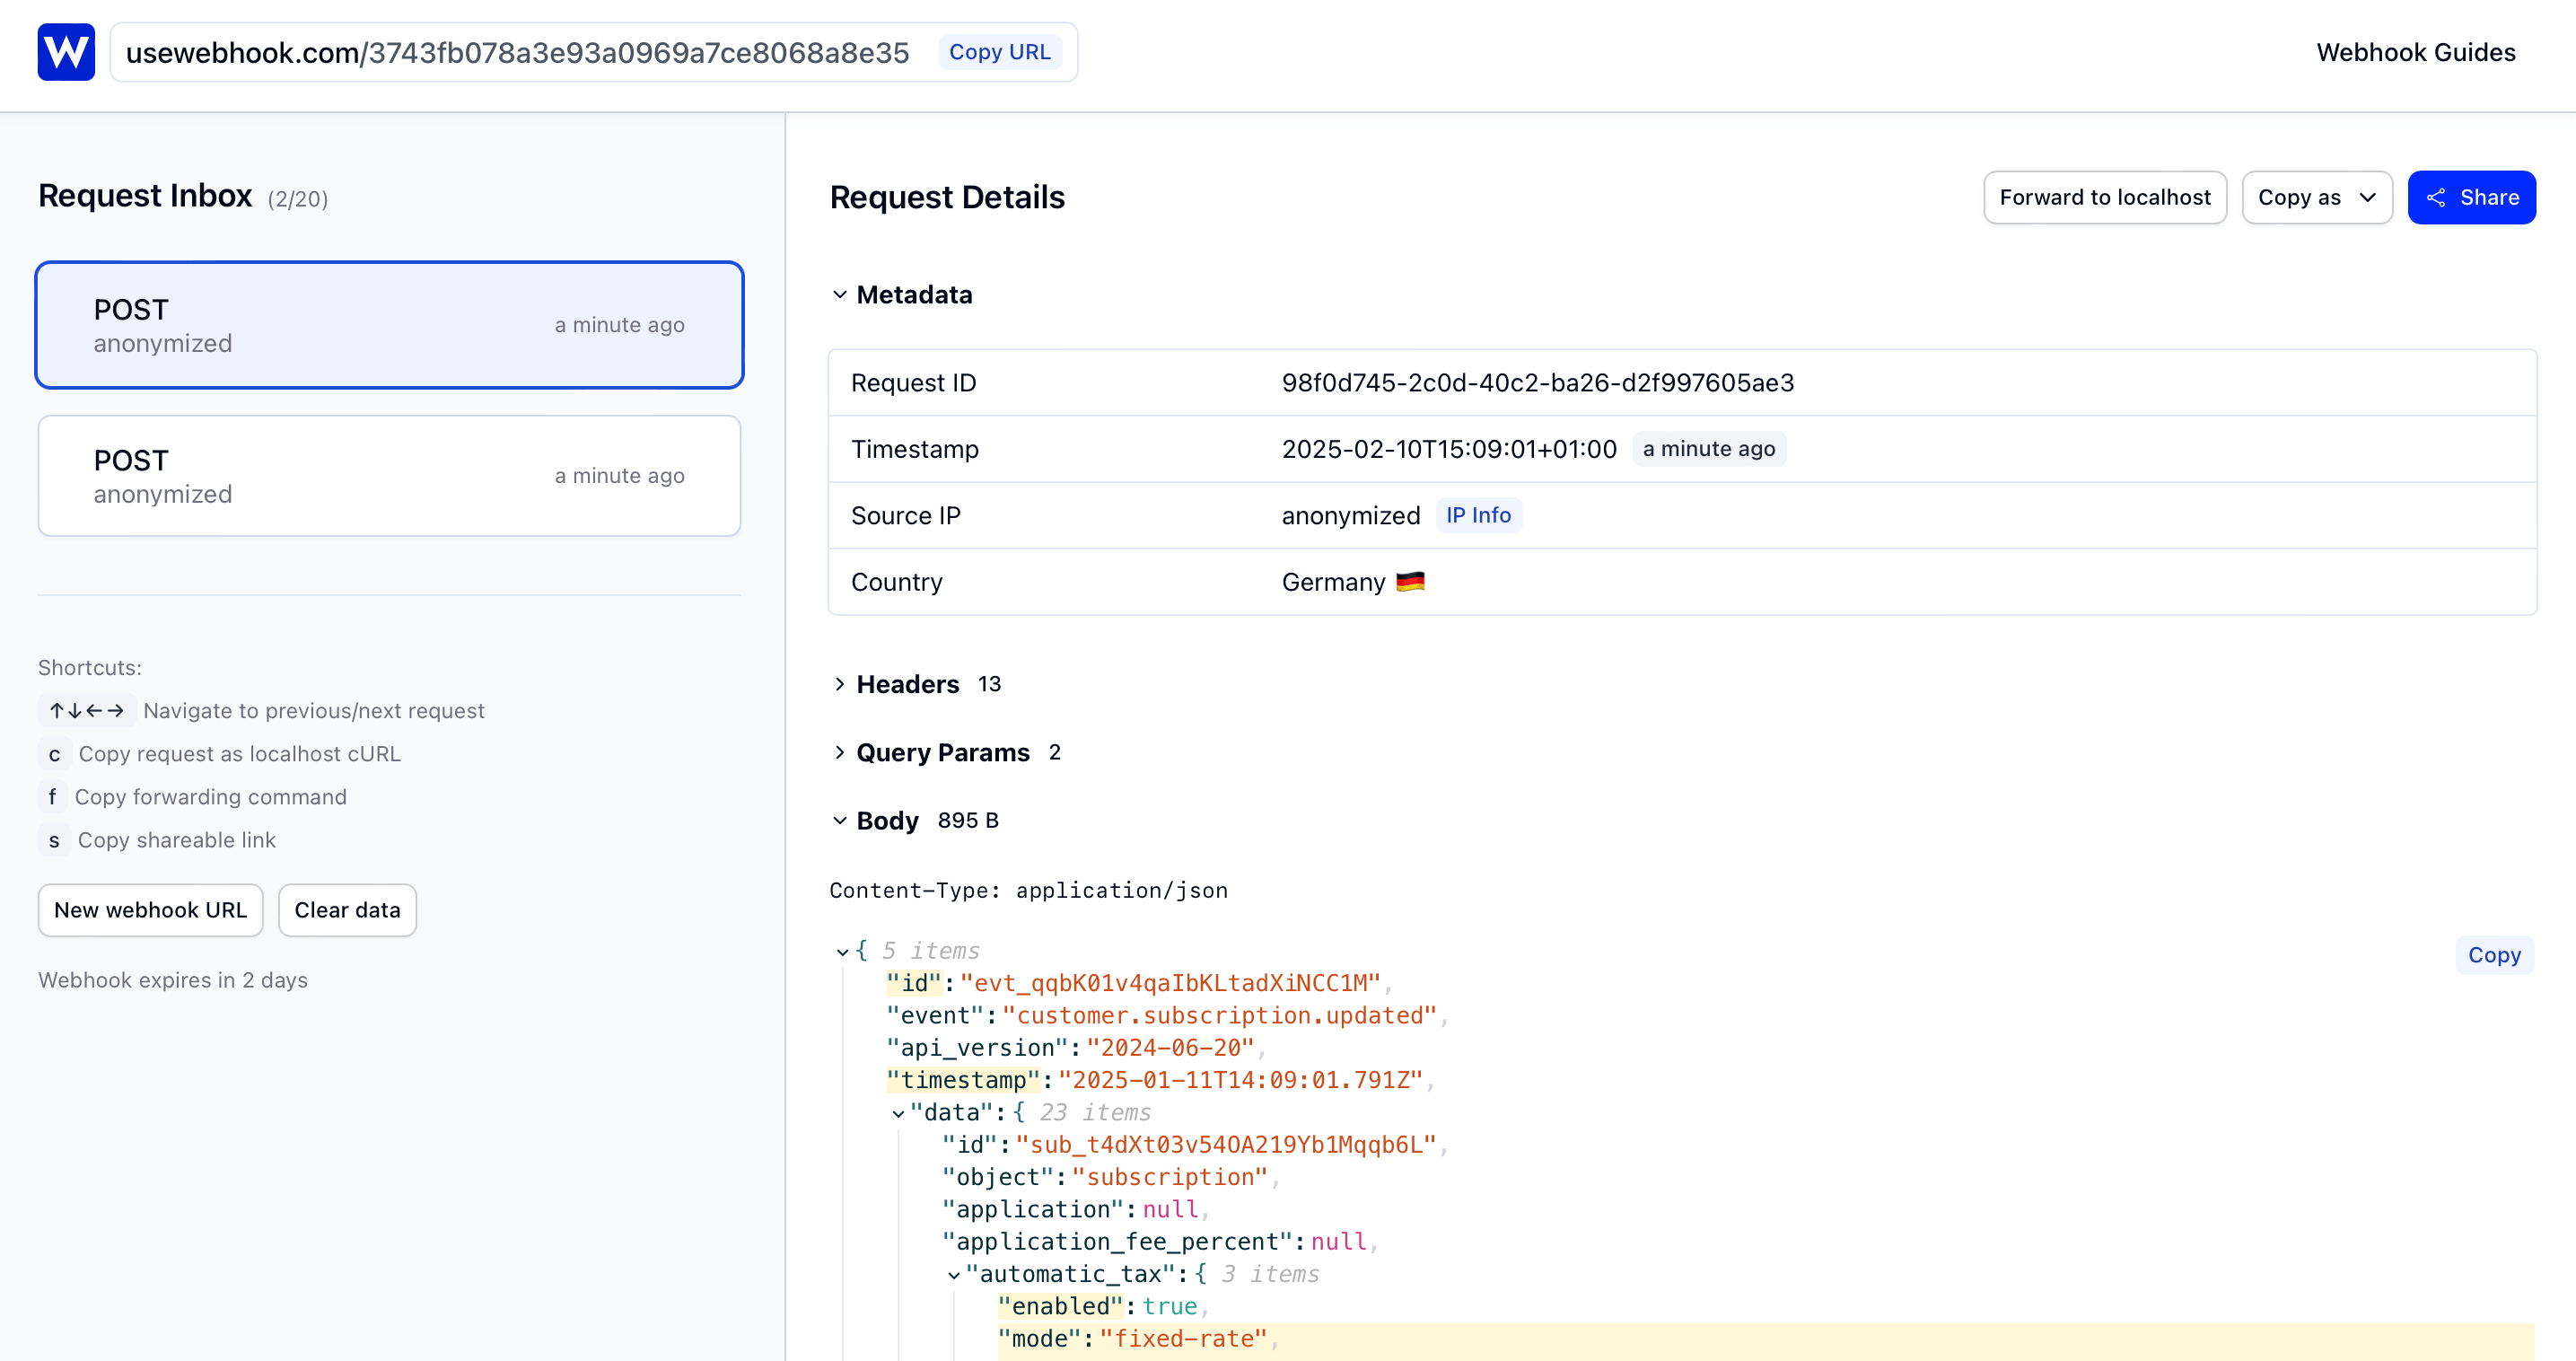
UseWebhook highlights any differences between consecutive requests, making it easy to compare payloads across events - useful when tracking how a subscription changes over its lifecycle.
5. Forward to localhost
Now let's forward incoming Stripe webhooks to your local development server. Install the UseWebhook CLI:
curl -fsSL https://usewebhook.com/install.sh | bash
Make sure your local server is running, then start forwarding:
usewebhook $YOUR_WEBHOOK_URL \
  --forward-to http://localhost:8000/webhooks/stripe/
Replace $YOUR_WEBHOOK_URL with your UseWebhook URL, and adjust the local URL to match your webhook endpoint.
Every Stripe event sent to your UseWebhook URL will now be forwarded to your local server, so you can test your webhook handler end-to-end.
6. Replay from webhook history
UseWebhook stores a history of all requests, so you can replay any Stripe event at any time. This is useful for:
- Reproducing bugs without creating new test payments
- Testing how your handler responds to different event types
- Iterating on your webhook logic without waiting for Stripe
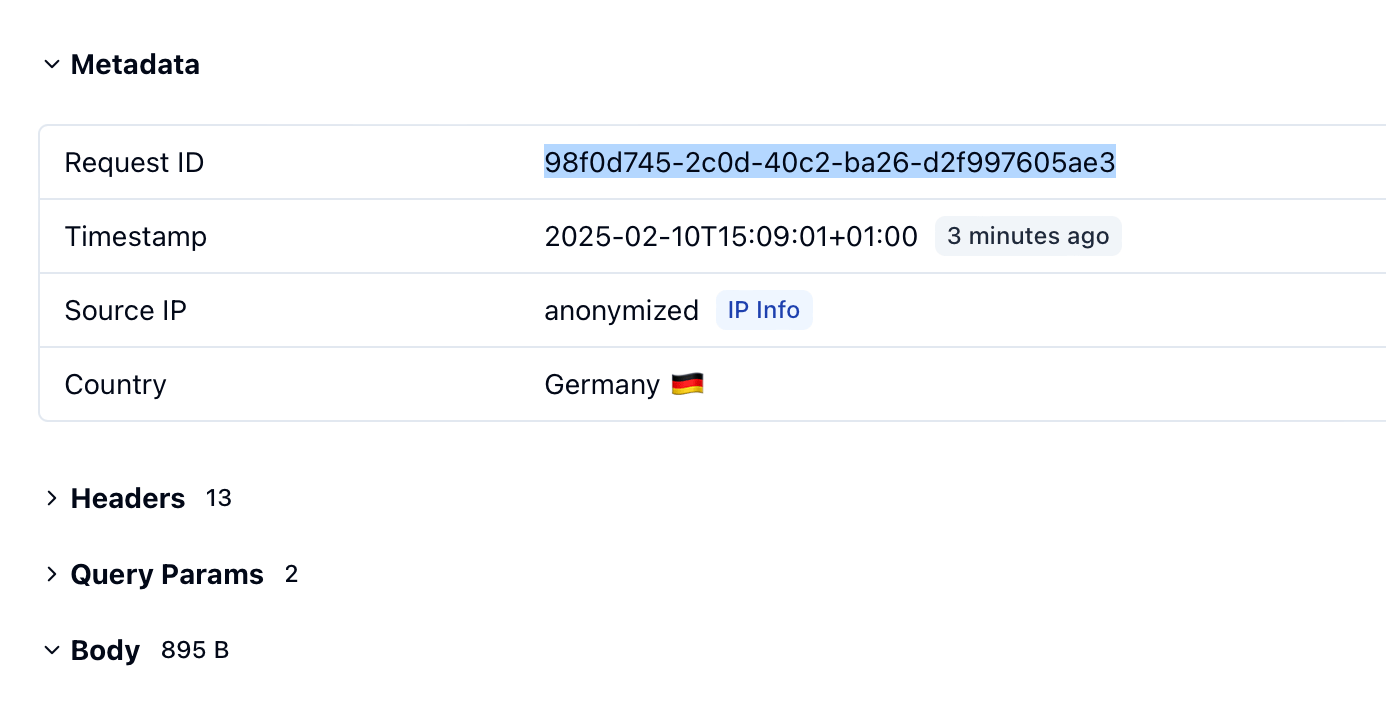
Grab the request ID from your UseWebhook dashboard:
Then replay it:
usewebhook $YOUR_WEBHOOK_URL \
  --request-id $REQUEST_ID \
  --forward-to http://localhost:8000/webhooks/stripe/
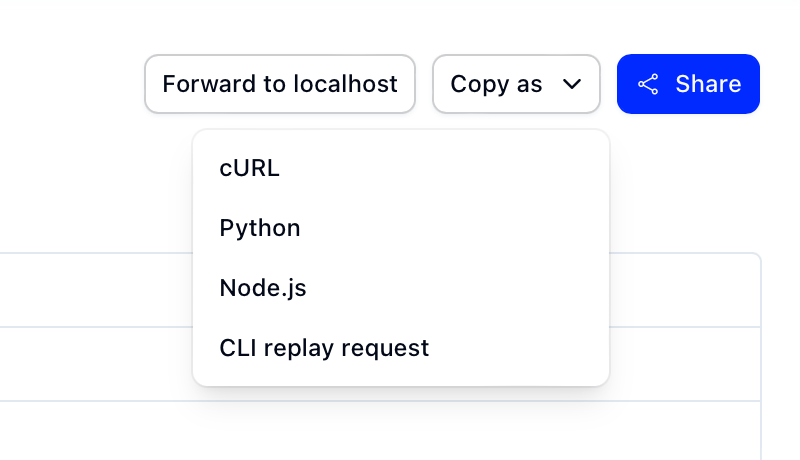
You can also copy the full command from the dashboard using the "Copy as" dropdown.
Tips for testing Stripe webhooks
- Use Stripe Test mode for development. It has separate API keys and won't affect real customers.
- Verify signatures locally. Stripe signs every webhook with an HMAC-SHA256 signature in the
Stripe-Signatureheader. Make sure your local handler validates this using your webhook secret. - Handle idempotency. Stripe may send the same event more than once. Use the event
idto deduplicate and avoid processing the same event twice. - Test failure scenarios. Use Stripe's test cards for declines to trigger events like
payment_intent.payment_failedandinvoice.payment_failed.
Conclusion
With UseWebhook, you can test Stripe webhooks without deploying to a public server. Capture events in your browser, forward them to localhost, and replay them as many times as you need.
Ready to try it out? Grab your webhook URL.